Lighting impacts hormone levels in the human body and will change your sleep, digestion and happiness cycles. See how you can use lighting to feel happier and healthier.
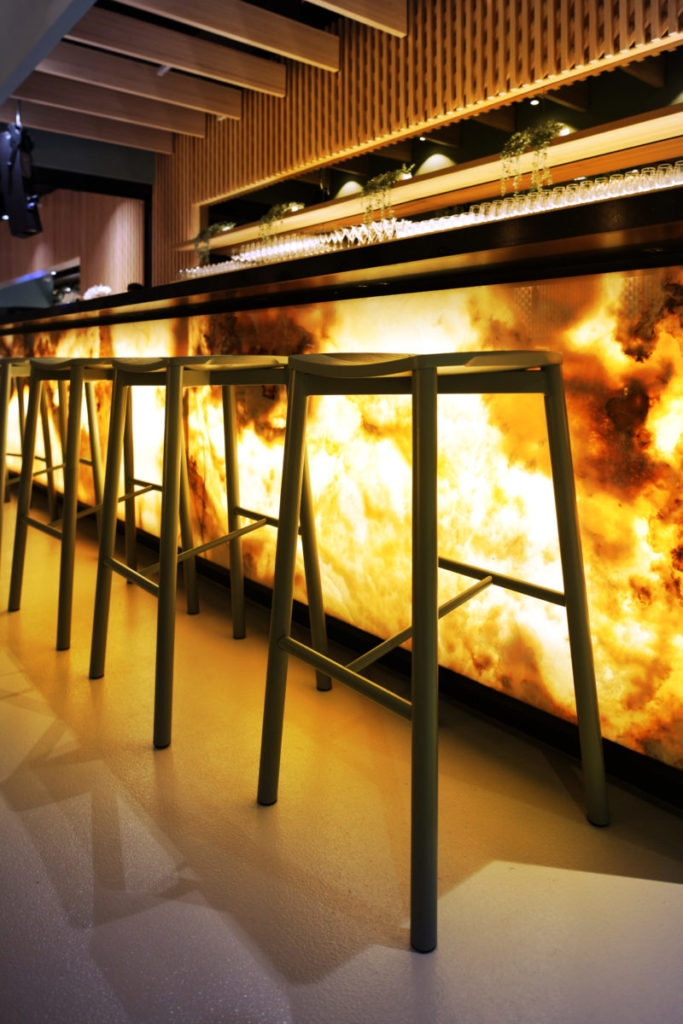
How to Backlight Stone
Backlighting stone can be a tricky and expensive business. Luckily for most clients who have the budget for a large slab of stone, they also have the budget for lighting equipment – though this is not always true for commercial projects where the lighting budget is much lower than the interior or architectural budget.
For the most part, backlit materials take a fair bit of real estate in an architectural or interior fitout and therefore require a fair bit of lighting to do effectively.
It’s important to consider that LEDs are chips on a printed circuit board. The more chips you have, the more you pay. The most uniform and homogeneous backlit effect will require a regular array of LED chips (or “pixels”); a TV with a high resolution will give you superior image quality and so it is with LEDs.
For the best backlighting effects there is always a trade-off against the depth of the lightbox and the number of LED’s. A deep lightbox will allow for better dispersal of light rays before hitting the stone. A shallow light box will require more LED chips to create a uniform glow. This offset will change according to the thickness of the stone and its level of transparency so you will always need a sample of both the intended lighting product and stone to check.
Detailing a Lightbox
In most cases the offset between the stone to the light source is 1:1. That is if the LED strip or LED chips are 50mm apart, then the stone should be 50mm away from the LED circuit board. This can be a problem where there is only 20mm of available space as this requires a much higher amount of LED chips, which will not just cook the budget but also cook the circuit board and overheat the LEDs, resulting in abrupt failure (circuit boards don’t like heat!).
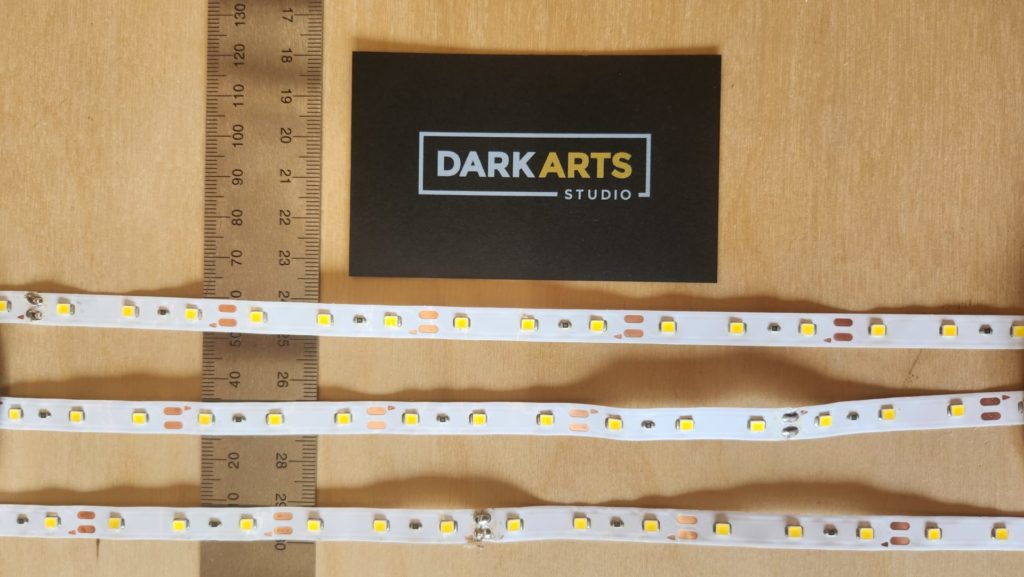
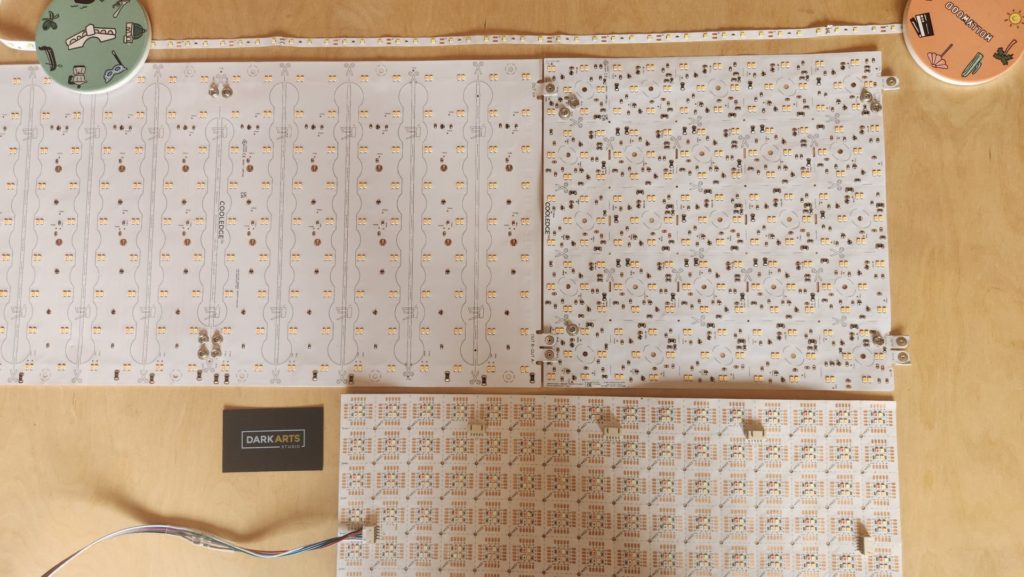
Ultimately there are two main ways to backlight a material with LED. One is with a linear LED strip and the other is with an LED chip sheet. Both will require accessibility for maintenance and cleaning so it is important to consider how the lightbox will be opened or cleaned in the future. You will also want to consider the lifetime and quality of the LEDs (those with higher lifetimes will also be more expensive). Our approach is usually case by case depending on the budget, the available space and the shape of the lightbox (they’re not always square).
A good lightbox should be:
- Enclosed on all sides to increase internal reflections and stop bugs and dust getting inside
- Have LEDs mounted on a profile or metal backing to help with heat dissipation
- Finished matt white on all internal surfaces so there are no dark edges
- Fixed by clear central fixing pieces
- Structurally sound around the edges to hold the weight of the stone
- Accessible through the back or sides, or have removable stone for maintenance
- Wired with a remote power supply in an accessible, dry and ventilated location
- Homogeneously illuminated on the front face
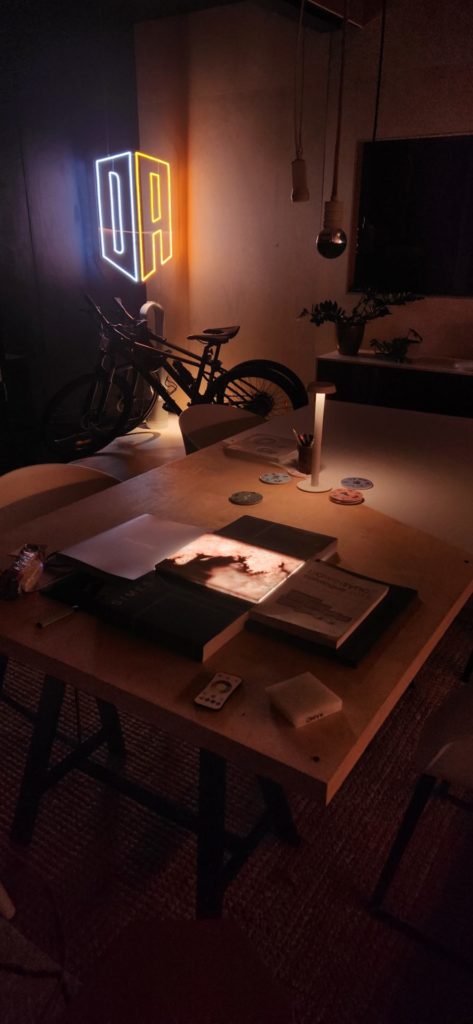
Mocking Up a Lightbox
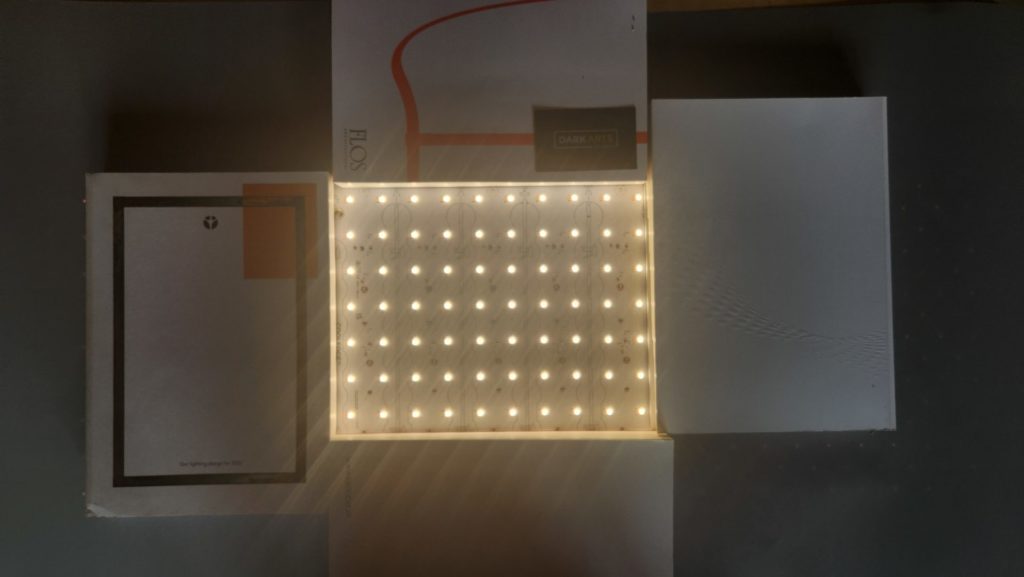
The first thing you will need is a dark room. We always test at night and where possible dim the lighting down as far as we can, this will give a worst-case testing installation for “dotting” or un-uniform lighting effects.
You will also need a light source and a piece of the diffusing material. If using an LED sheet or LED tile with regular pitch (distance between LED chips) this process is easier but you will be regimented to one pitch. If you are using an LED strip you will need a few lengths and will be able to change the pitch.
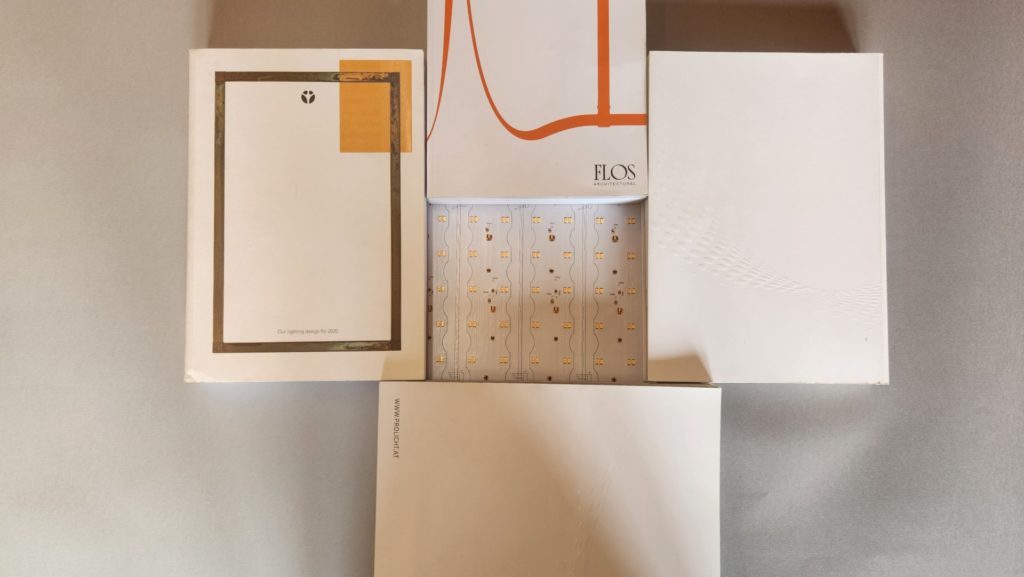
We used a 300 x 300mm LED sheet in this mock-up and used paper to block our the rest of the board. This is important otherwise you will blind yourself and change your pupil dilation. We are using our manufacturers catalogues with the same thickness as the LED pitch (refer to 1:1 notes in the above paragraph). We are using white catalogues to replicate the white interior of a lightbox.
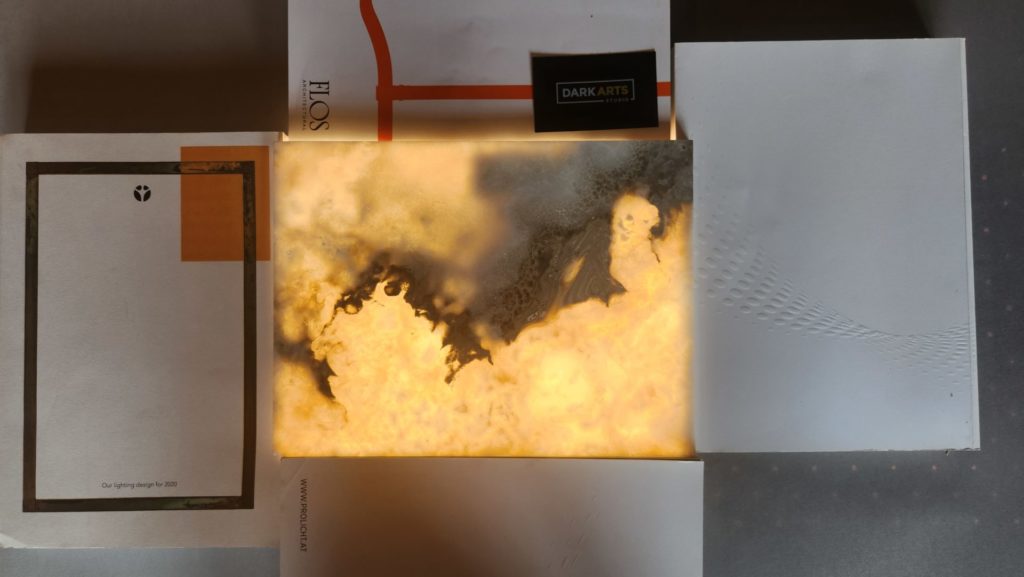
Our top opening matches the size of our stone sample so we can check the light spill around the edges of the lightbox – a large stone sample is therefore better! We’ve left about 5mm around the edges of the catalogues for the stone to sit on.
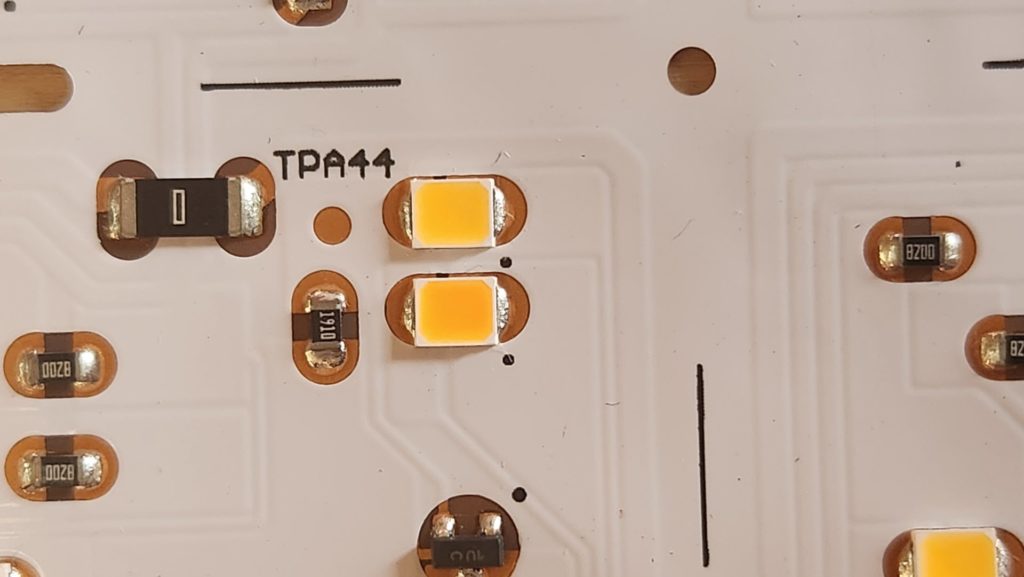
LED Technology
Every LED strip and LED panel will have a different cutting point and pitch so this should be considered during the mock-up. This will also differ if you are using colour change, RGB, RGBW and tuneable LED sheets as the placement of the different coloured LED chips will vary according to the manufacturer.
The goal is to have 100% diffusion so you can’t see where the light sources are. This will rely on you playing with different offsets until you are happy.
If in doubt ask us for some help!